WordPress powers over 43% of all websites on the internet. From personal blogs to Fortune 500 enterprise portals, it is the ubiquitous operating system of the web. For a Red Teamer or Penetration Tester, this ubiquity represents a massive attack surface. A single vulnerability in a popular plugin can compromise millions of sites overnight.
However, modern WordPress installations are rarely insecure by default. The Core team does an excellent job of patching vulnerabilities. The danger lies in the ecosystem: 59,000+ plugins, thousands of themes, and misconfigured servers.
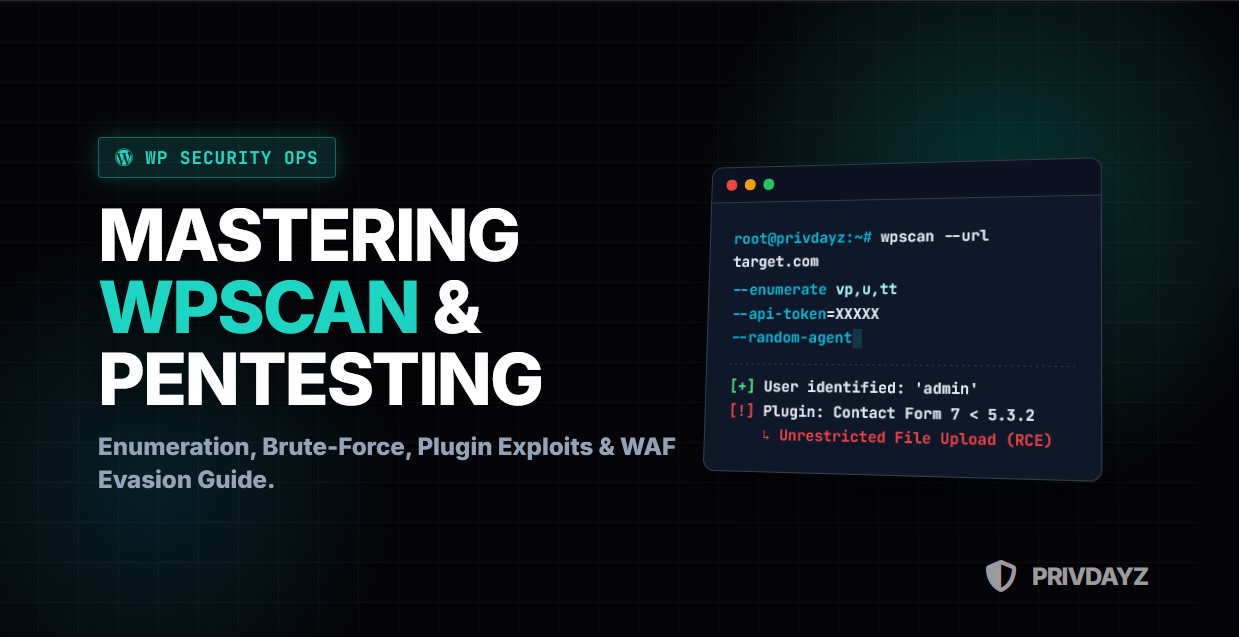
In this comprehensive masterclass, we will move beyond the basic wpscan --url command. We will dissect the architecture of WordPress, master the art of WPScan, explore advanced user enumeration techniques, bypass WAFs (Web Application Firewalls), and learn how to chain vulnerabilities to achieve Remote Code Execution (RCE).
Rules of Engagement
Scanning websites you do not own or do not have explicit written permission to test is illegal. WPScan is a noisy tool; it will appear in server logs. Use this knowledge strictly for authorized security assessments and Bug Bounty programs.
1. The Arsenal: Understanding WPScan
WPScan is a black-box WordPress vulnerability scanner. It comes pre-installed on Kali Linux, Parrot OS, and BlackArch. Unlike generic scanners (like Nessus or Nikto), WPScan is purpose-built to understand the WordPress structure.
It works by querying the target for version fingerprints and comparing them against the WPVulnDB (now maintained by Automattic/Jetpack). To get the most out of it, you need an API token.
1.1. Installation & API Token Setup
While the scanner is free, the vulnerability data requires a token for real-time updates. Without it, you cannot see the latest CVEs.
# 1. Update the database
wpscan --update

# 2. Register at wpscan.com to get your API Token
# 3. Configure the token (Persistent)
nano ~/.wpscan/scan.yml

# Add the following line:
cli_options:
  api_token: YOUR_API_TOKEN_HERE
2. Phase 1: Passive Reconnaissance & Fingerprinting
Before launching active packets that might trigger an IDS (Intrusion Detection System), we must understand the target. Passive reconnaissance involves identifying the WordPress version, the active theme, and server headers without brute-forcing.
2.1. Version Detection
WPScan checks meta generator tags, readme.html files, and MD5 hashes of static files (CSS/JS) to determine the core version.
wpscan --url https://target.com --stealthy --random-agent
Why is this critical? If a target is running WordPress 5.0 when the current version is 6.4, you instantly know that the site is vulnerable to known Core exploits (like RCE via Path Traversal).
3. Phase 2: Aggressive Enumeration (The Meat)
This is where WPScan shines. We need to map out the installed Plugins, Themes, and Users. The more components we identify, the higher the probability of finding a vulnerable one.
3.1. Plugin Enumeration Strategies
Plugins are the #1 vector for WordPress compromises. WPScan offers three detection modes:
- Passive: Checks only the homepage source code.
- Aggressive: Requests thousands of known plugin URLs (Noisy!).
- Mixed: A balance of both.
# Enumerate Vulnerable Plugins (vp), All Plugins (ap), and Popular Plugins (p)
wpscan --url https://target.com --enumerate vp,ap,p --plugins-detection mixed
Pro Tip: The Timthumbs
Always check for timthumb vulnerabilities (`–enumerate tt`). Timthumb is an image resizing script notorious for allowing Remote Code Execution via file upload. Although older, it still exists in legacy themes.
3.2. Theme Enumeration
Themes often bundle third-party sliders or page builders that contain vulnerabilities.
wpscan --url https://target.com --enumerate vt,at
4. Phase 3: User Enumeration & Username Harvesting
You cannot brute-force a login if you don’t know the username. WordPress notoriously exposes usernames via multiple endpoints.
4.1. Enumeration Techniques
WPScan checks the following vectors to harvest usernames:
- /?author=1: ID-based redirection. If `target.com/?author=1` redirects to `target.com/author/admin/`, you have found the username “admin”.
- REST API: The `/wp-json/wp/v2/users` endpoint often leaks the full user list in JSON format.
- XML-RPC: Can be used to check user existence.
# Enumerate users ID 1 to 100
wpscan --url https://target.com --enumerate u1-100
5. Phase 4: Brute Force Attacks
Once you have a list of valid users (e.g., admin, editor, john), the next step is cracking their passwords. WordPress has two main login interfaces: wp-login.php (Web) and xmlrpc.php (API).
5.1. XML-RPC Amplification Attack
Brute forcing via wp-login.php is slow and easily blocked by plugins like “Limit Login Attempts”. However, xmlrpc.php allows us to try hundreds of passwords in a single HTTP request using the system.multicall method. This is faster and stealthier.
# Fast Brute Force using rockyou.txt
wpscan --url https://target.com -U users.txt -P /usr/share/wordlists/rockyou.txt --password-attack xmlrpc --multicall-max-passwords 100
Warning: Account Lockout
Before launching a brute force attack, check if the target has an account lockout policy. Sending 1000 requests might lock the admin out, causing a Denial of Service (DoS) instead of access.
6. Phase 5: WAF Evasion & Advanced Obfuscation
If you are testing a high-value target, they likely use Cloudflare, Sucuri, or Wordfence. These WAFs will block the default WPScan User-Agent immediately (403 Forbidden).
6.1. Randomizing Signatures
Never scan with the default agent.
wpscan --url https://target.com --random-agent --throttle 500
6.2. Proxy Chaining & Tor
To avoid IP bans, route your traffic through a proxy or the Tor network.
# Using Tor (Requires service tor start)
wpscan --url https://target.com --proxy socks5://127.0.0.1:9050

# Using a list of rotating proxies
wpscan --url https://target.com --proxy-auth user:pass --proxy 1.2.3.4:8080
6.3. WAF Detection (Wafw00f)
If WPScan is failing, use wafw00f to identify the firewall.
wafw00f https://target.com
If it is Cloudflare, you might need to find the Origin IP of the server (using Censys or Shodan) and scan the IP directly, bypassing the WAF entirely.
7. Analysis: From Vulnerability to Exploitation
WPScan gives you a list of vulnerabilities with CVE numbers. But what do you do with them? This is where the real “Hacking” begins.
7.1. Interpreting the Output
[!] Title: Contact Form 7 < 5.3.2 - Unrestricted File Upload
[!] Reference: https://wpscan.com/vulnerability/…
When you see this, your next step is not WPScan. It is Exploit-DB or Metasploit.
7.2. Case Study: Exploiting Unrestricted File Upload
Imagine WPScan finds a plugin that allows file uploads without sanitization.
- Create a PHP web shell (e.g.,
shell.php). - Bypass the extension filter (rename to
shell.php.jpgor use magic bytes). - Upload via the plugin’s form.
- Access the file at
/wp-content/uploads/year/month/shell.php. - Result: Remote Code Execution (RCE).
8. Automating the Process (Scripting)
Manually scanning hundreds of sites is tedious. We can automate WPScan using Bash or Python wrappers.
#!/bin/bash
# Bulk WPScan Wrapper

TARGETS="targets.txt"

while IFS= read -r url
do
  echo "Scanning $url..."
  wpscan --url "$url" --no-banner --random-agent --format json --output "reports/$(echo $url | awk -F/ '{print $3}').json"
done < "$TARGETS"
9. Securing WordPress (Blue Team Advice)
As a security professional, you must also know how to fix these flaws. Here is the hardening checklist:
- Disable XML-RPC: Add
add_filter('xmlrpc_enabled', '__return_false');to your theme's functions.php or block access via .htaccess. - Block User Enumeration: Use security plugins to block requests to
/?author=Nand disable the REST API user endpoint. - Hide Version: Remove the generator meta tag.
- WAF: Install Wordfence or use Cloudflare to block automated scanners.
- 2FA: Two-Factor Authentication renders brute-force attacks useless.
10. Conclusion
WPScan is an indispensable tool in the Red Teamer's arsenal. However, it is just the tip of the iceberg. True mastery comes from understanding the underlying PHP logic, how plugins interact with the database, and how to craft custom payloads when automated tools fail.
Remember: A vulnerability scan is not a penetration test. It is merely the first step in identifying the weak points of the fortress.